


You can import your users to Unless which will allow you to display unique content to each one of these individuals.
How does that work? Each imported user gets assigned a unique identifier and a personalized link that you can then use in your email outreach. This link helps identify each user the moment they land on the page and display content that is unique to them.
When importing users, you can also add additional data points such as their industry, job title, subscription, product interest, loyalty card number and so on. These are called "custom traits" and can be used when segmenting your users into audiences and creating experiences for them.
Let's go over the steps to see how you can set this up.
Importing users
When possible, we recommend you use an integration rather than the manual CSV upload. This is because integrations allow for your users to be synced automatically and stay up-to-date. Data about these users can also be sent back to your tool of choice so long as their system allows this.
However, if for one reason or another, you need to upload users manually that is also possible. You can use a CSV file of the users you would like to import where the first row has data points (aka custom traits) such as first name, last name, current plan, etc.
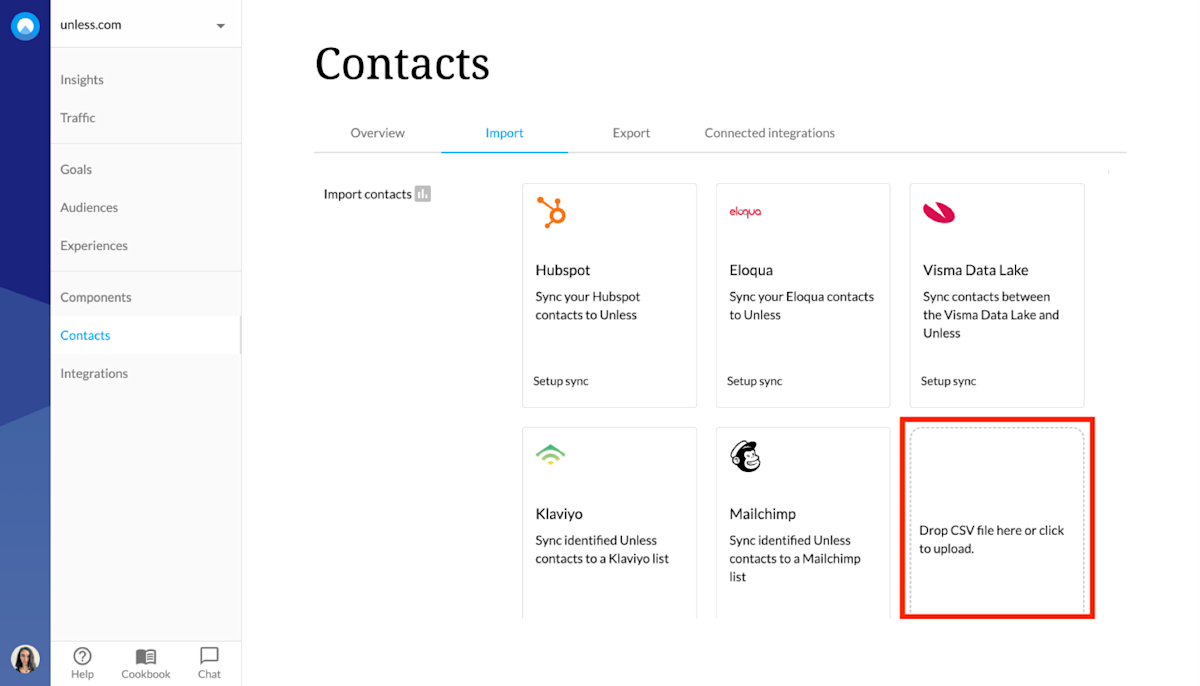
Once you have this file ready, you can go to the Users tab of your Unless dashboard and click "import users". On the following page simply drop the CSV file to the marked area or click it to upload.
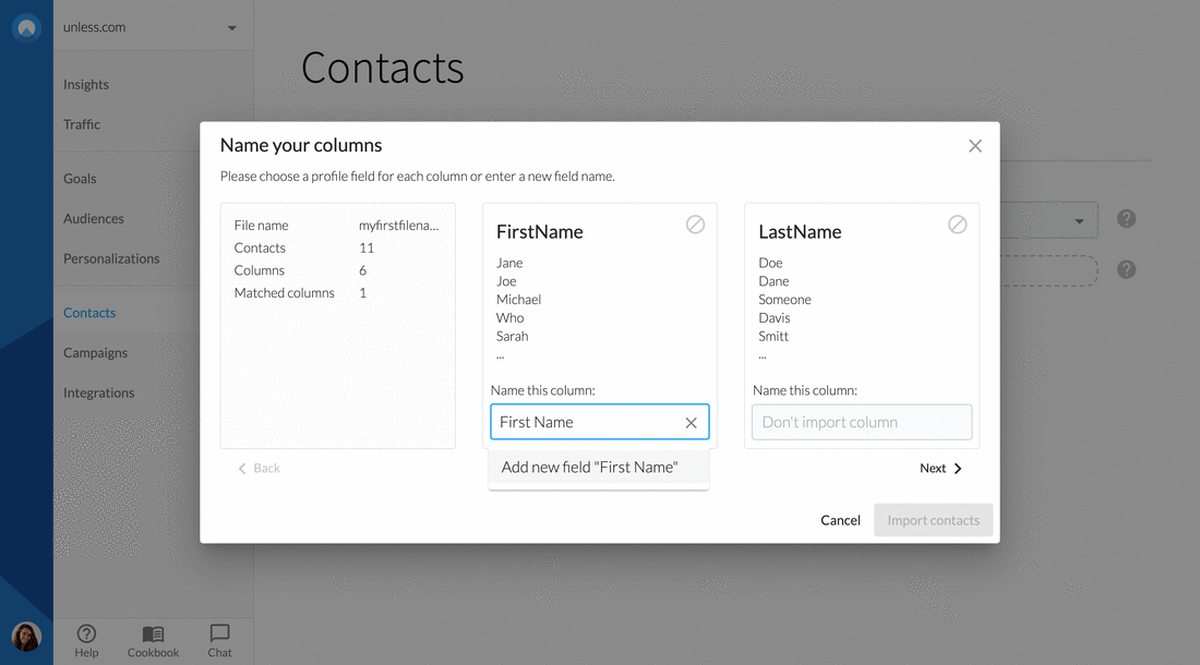
Once you attach the CSV file, you will see a pop-up with the columns listed. On this screen you can "match" columns with descriptive names. You will then be able to use these names for custom audiences as well as dynamic content insertions on your pages. After giving names to the columns, you can click "import contacts".
Once your contacts are imported, you can use the "auto-clean" functionality to remove clutter such as Inc, Ltd, https, etc. so that the experiences you create look cleaner. You can also click on any field to make adjustments or updates to it.
Exporting contacts
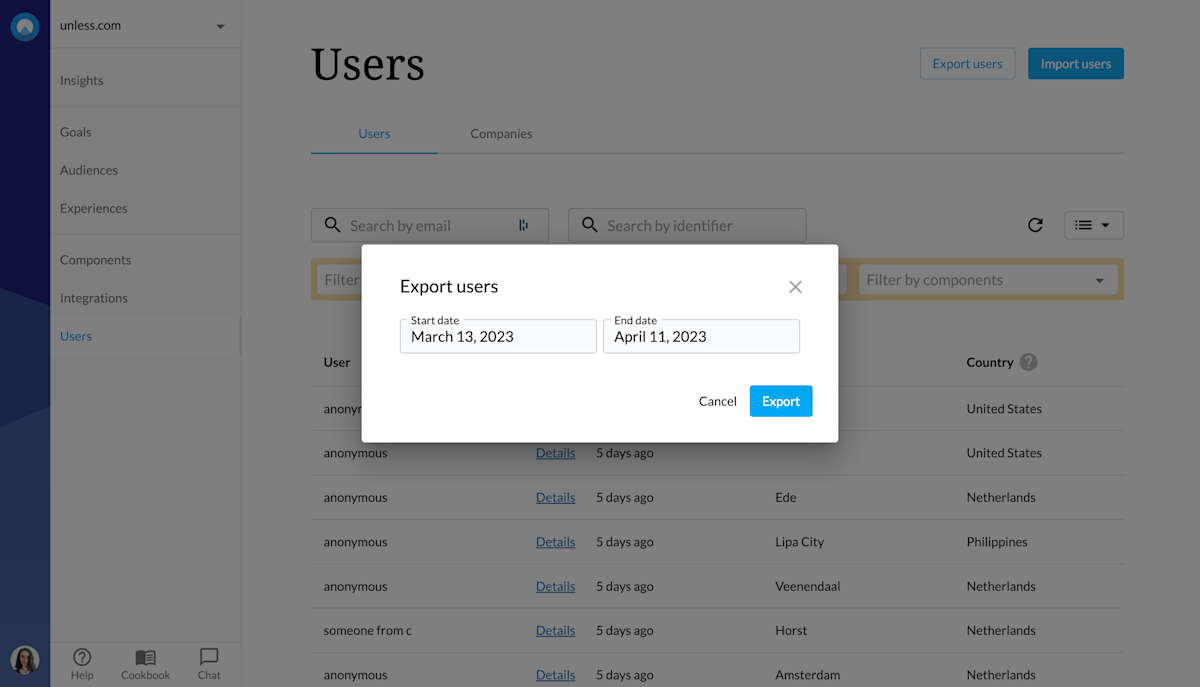
It is also possible to export contacts from the same Users tab. You can simply click "export users", select your preferred date range, and export. You will then receive an email once your export is ready to download.
The resulting CSV file will be updated with any changes you made or enrichments we added (for example through firmographic integrations).
In the CSV file, you will notice an additional column with unique identifiers for each contact. You can add this identifier to any URL going to your website in your email or LinkedIn outreach. For example: https://unless.com/?unlc={{identifier}}. This way when a contact clicks on the unique link you've sent them, they will be identified when they land on the page.